使用VuePress搭建个人博客
大约 2 分钟
使用VuePress搭建个人博客
安装
依赖环境
- Node.js V18.16.0+
- 包管理器:pnpm、yarn、npm
- VuePress Theme Hope 主题
创建项目
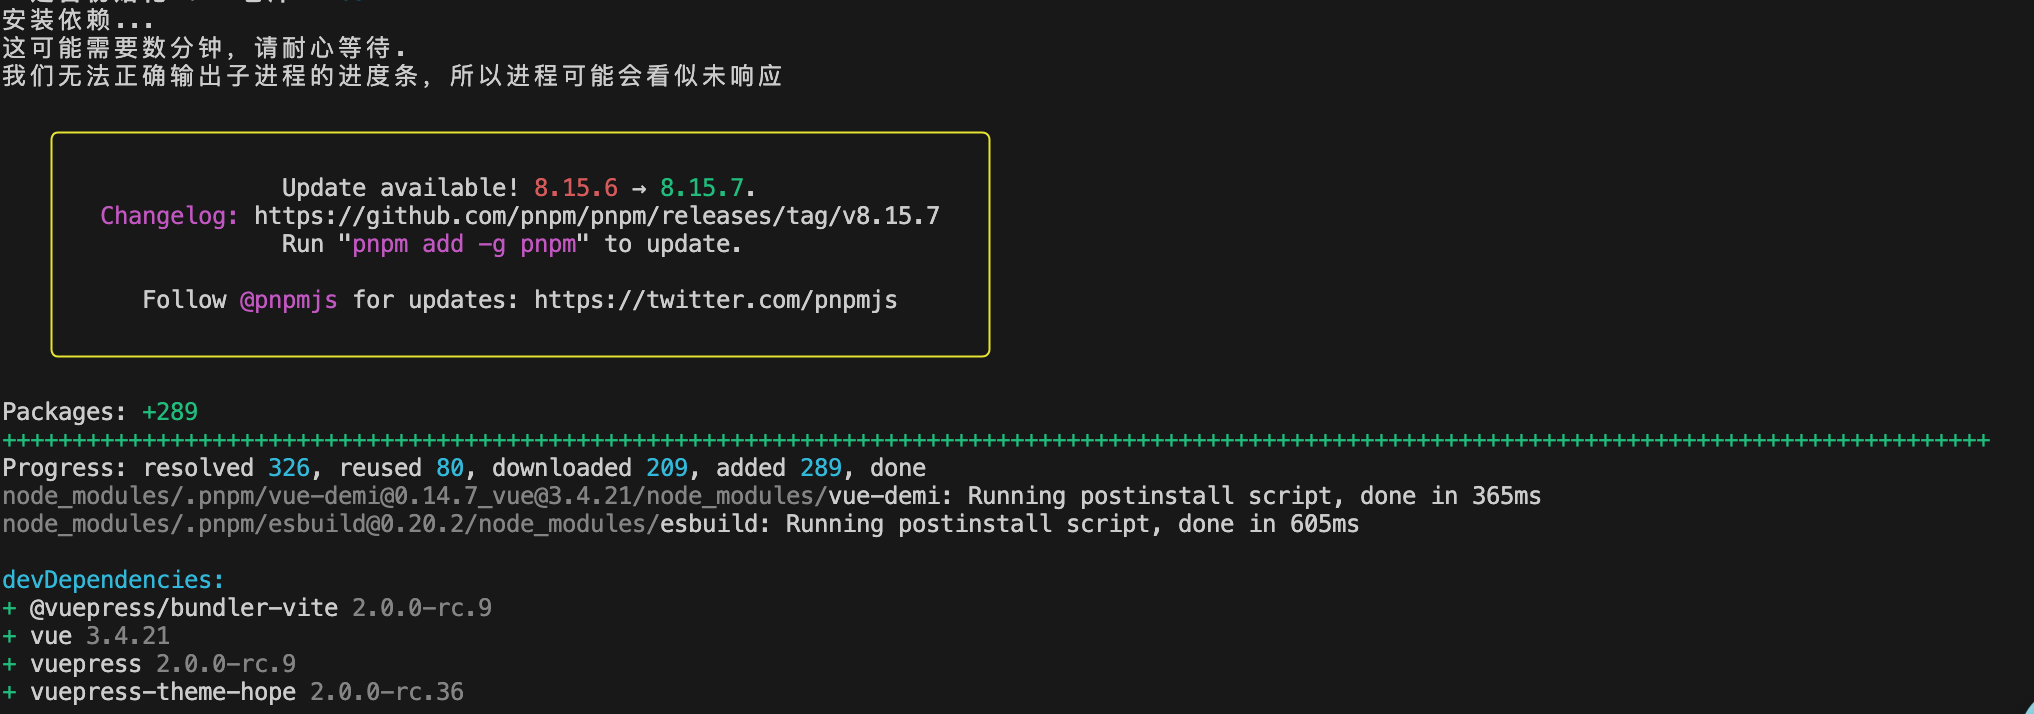
pnpm create vuepress-theme-hope test
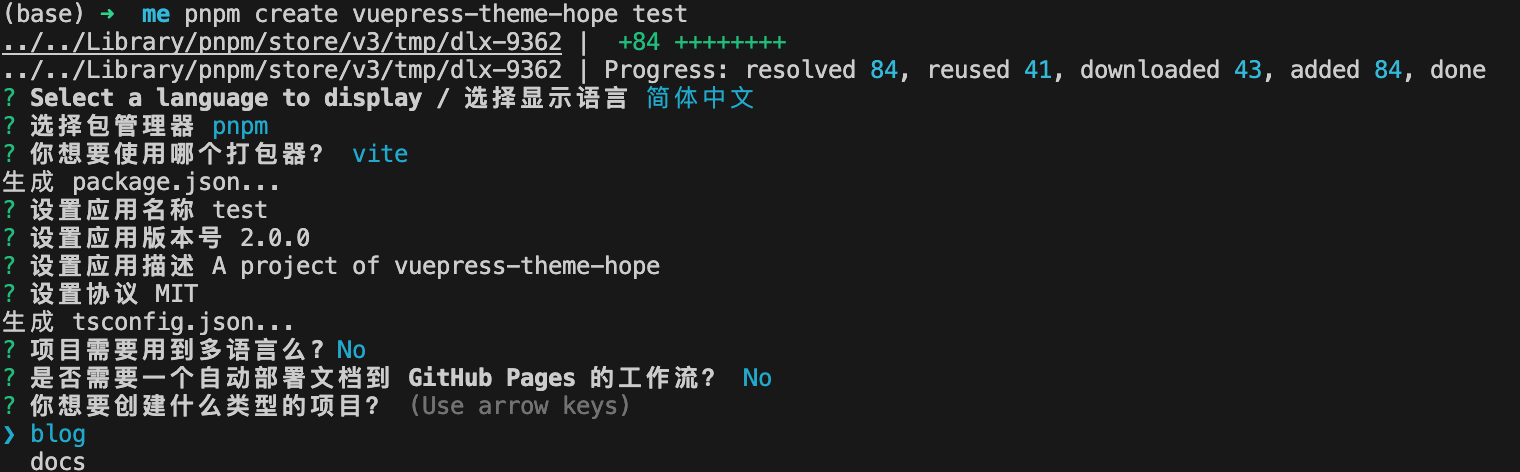
此处选择blog,其他根据个人喜好配置,完成后如下图所示:

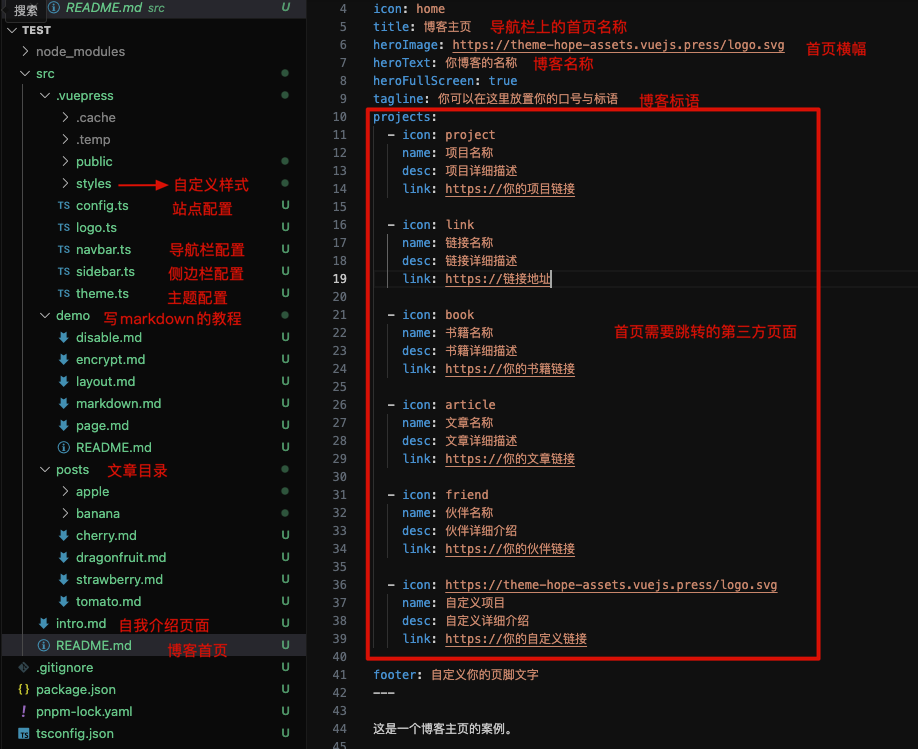
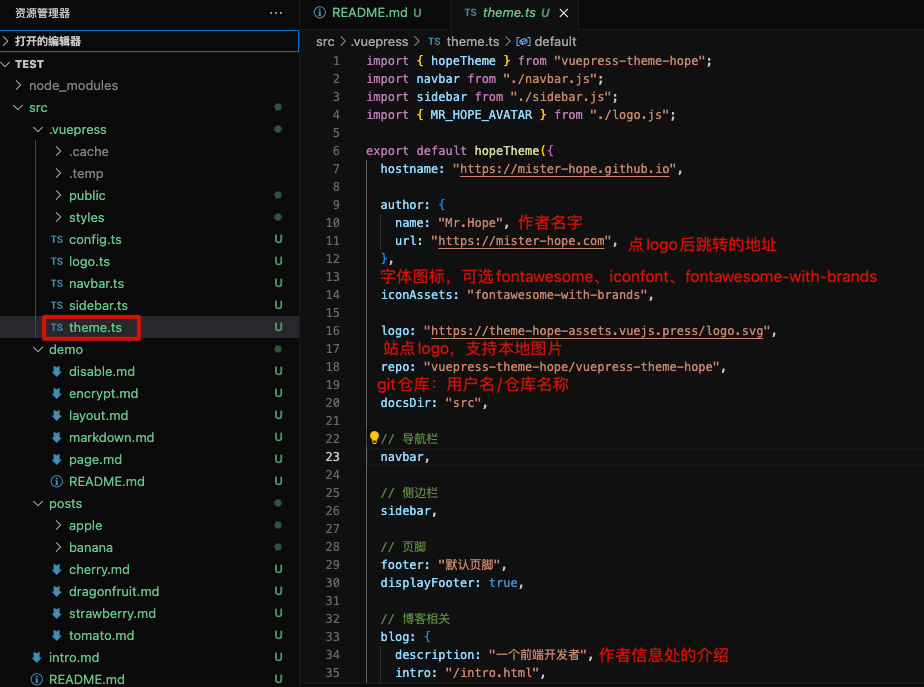
目录介绍
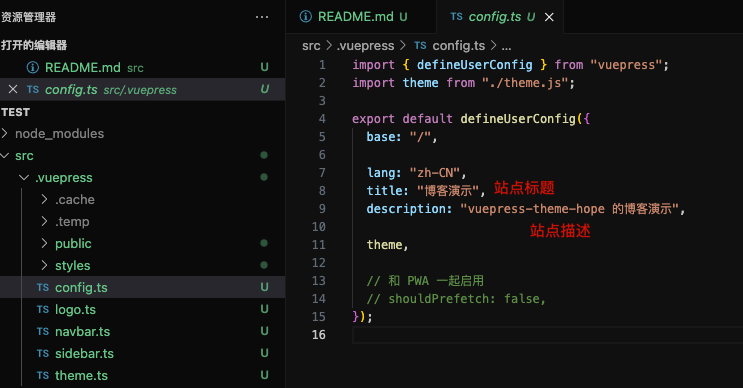
修改配置
修改站点标题
修改logo/字体图标
写文章
使用markdown语法编写文章,在文章顶部加入Formatter用于控制页面。
---
# 这是文章的标题
title: 页面配置
# 你可以自定义封面图片
cover: http://sc3h1w6m2.hn-bkt.clouddn.com/cover1.jpg
# 这是页面的图标
icon: file
# 这是侧边栏的顺序
order: 3
# 这是文章的分类, 可以有多个
category:
  - 分类1
  - 分类2
# 这是文章的标签, 可以有多个
tag:
  - 标签1
  - 标签2
# 设置作者
author: Ms.Hope
# 设置写作时间
date: 2020-01-01
# 是否在文章页面显示
article: false
# 是否在时间线显示
timeline: false
# 是否显示导航栏
navbar: false
# 是否显示侧边栏
sidebar: false
# 是否显示页面路径
breadcrumb: false
pageInfo: false
# 是否显示贡献者
contributors: false
# 是否显示编辑此页
editLink: false
# 是否显示最后更新时间
lastUpdated: false
# 是否显示上一页
prev: false
# 是否显示下一页
next: false
# 是否显示评论
comment: false
# 是否显示右下角的返回顶部
backtotop: false
# 此页面会在文章列表置顶
sticky: false
# 此页面会出现在星标文章中
star: false
# 自定义页脚
footer: 这是测试显示的页脚
# 自定义版权信息
copyright: 无版权
# 是否在首页显示
index: false
---
# 这里写正文,上面的配置大部分有默认值,不用全部写,用到哪个配置写哪个即可。
引入插件
必应壁纸和每日一句
<script setup lang="ts">
// VuePress首页的横幅组件
import BlogHero from "vuepress-theme-hope/blog/components/BlogHero.js";
// 必应壁纸:首页的横幅会自动获取必应官方的壁纸来替换
import BingHeroBackground from "vuepress-theme-hope/presets/BingHeroBackground.js";
// 每日一句:自动生成一句话来替换标语
import HitokotoBlogHero from "vuepress-theme-hope/presets/HitokotoBlogHero.js";
</script>

<template>
  <BlogHero>
    <template #heroBg>
      <BingHeroBackground />
    </template>
    <template #heroInfo="heroInfo">
      <HitokotoBlogHero v-bind="heroInfo" />
    </template>
  </BlogHero>
</template>
import { getDirname, path } from "vuepress/utils";
const __dirname = getDirname(import.meta.url);
export default defineUserConfig({
   alias:{
    "@theme-hope/modules/blog/components/BlogHero": path.resolve(
      __dirname,
      "./components/BlogHero.vue",
    )
  },
})
搜索插件
npm i -D @vuepress/plugin-docsearch@next
import { docsearchPlugin } from "@vuepress/plugin-docsearch";
export default defineUserConfig({
  docsearchPlugin({}),
})
评论插件
npm i -D @vuepress/plugin-comment@next
import { commentPlugin } from '@vuepress/plugin-comment'
export default defineUserConfig({
  commentPlugin({
    provider: "Giscus",
    repo: "xxx",
    repoId: "xxx",
    category: "xxx",
    categoryId: "xxx",
    mapping: 'xxx'
  }),
})
打包发布
打包
npm run docs:build
打包后的文件位于src/.vuepress/dist目录下
部署
将dist目录部署到服务器即可访问,可以参考官方文档